Data and AI Training
Home | Prices | Contact Us | Courses: Power BI - Excel - Python - SQL - Generative AI - Visualising Data - Analysing Data
Joining Instructions for Python Courses
This is a very practical course and we will write and execute Python code in the lab exercises. Attendees must have the ability to run Python. There are a few ways to do this. The easiest way is to run Python via a browser either using the Google Colab or GitHub Codespaces services. As of the time of writing, both of these have free versions but check this when you sign up to the service.
Technical Pre-requisites
Attendees must be able to run Python in Google Colab (instructions below). Attendees must be able to access the course files here
How to set up Python for the Course
Google Colab
Colab is a service provided by Google that allows us to write and execute Python in our browser without any need for set up or configuration. For this option, you will need a Google account. You may already have one but if not you can create one for free.
I’ve created a short video on YouTube (less than 3 minutes) that shows you how to do this here.
Here are brief step-by-step instructions.
- In a browser, go to the Google Colab landing page. Have a quick read of the informationn on this introduction page.
- Use the blue button at top right of the page to sign in (or create a new free Google account). This may involve a two factor authentication message to your mobile or email.
- From the menu, click on File then Open Notebook. A dialog box appears. Choose GitHub from the vertical list of the left and enter
https://github.com/MarkWilcock/Python-Courseinto the “Enter a GitHib URL…” text box. - This will show a list of the Python notebooks in this course. Select a notebook.
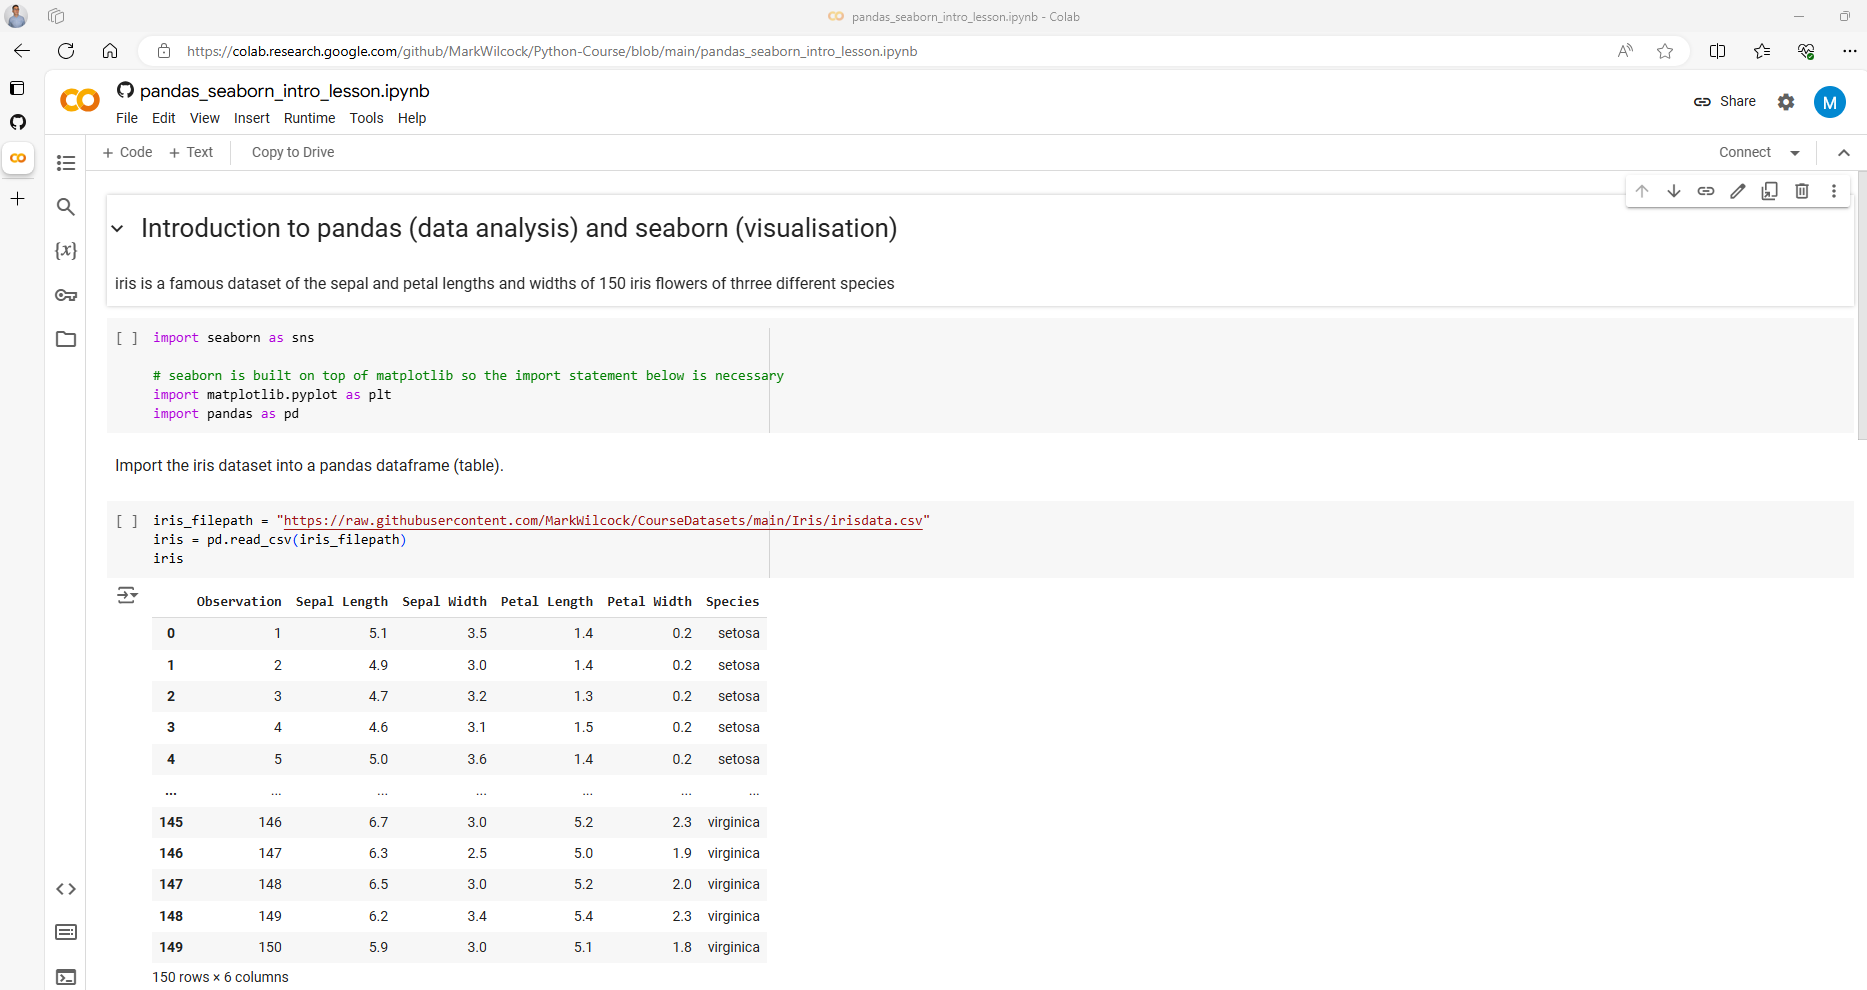
One good choice for getting started is ‘pandas_seaborn_intro_lesson.ipynb’ - This should bring up a browser page with a Colab development environment that looks like this.
Once you get here Congratulations!
GitHub Codespaces
GitHub Codespaces also offers a Python (and other) environment available from the browser. The Python environment uses a very nice code editor, VSCode.
Here are brief step-by-step instructions.
- In a browser go to GitHub Codespaces.
- Click on the “Get started for free” button.
- Sign in with an email address (or create a new free account). This may involve a two factor autentication message to your mobile or email.
- Navigate to the this course’s repo https://github.com/MarkWilcock/Python-Course
- Click on the green “Code” button then the “Codespaces” tab then “Create Codespaces on main”
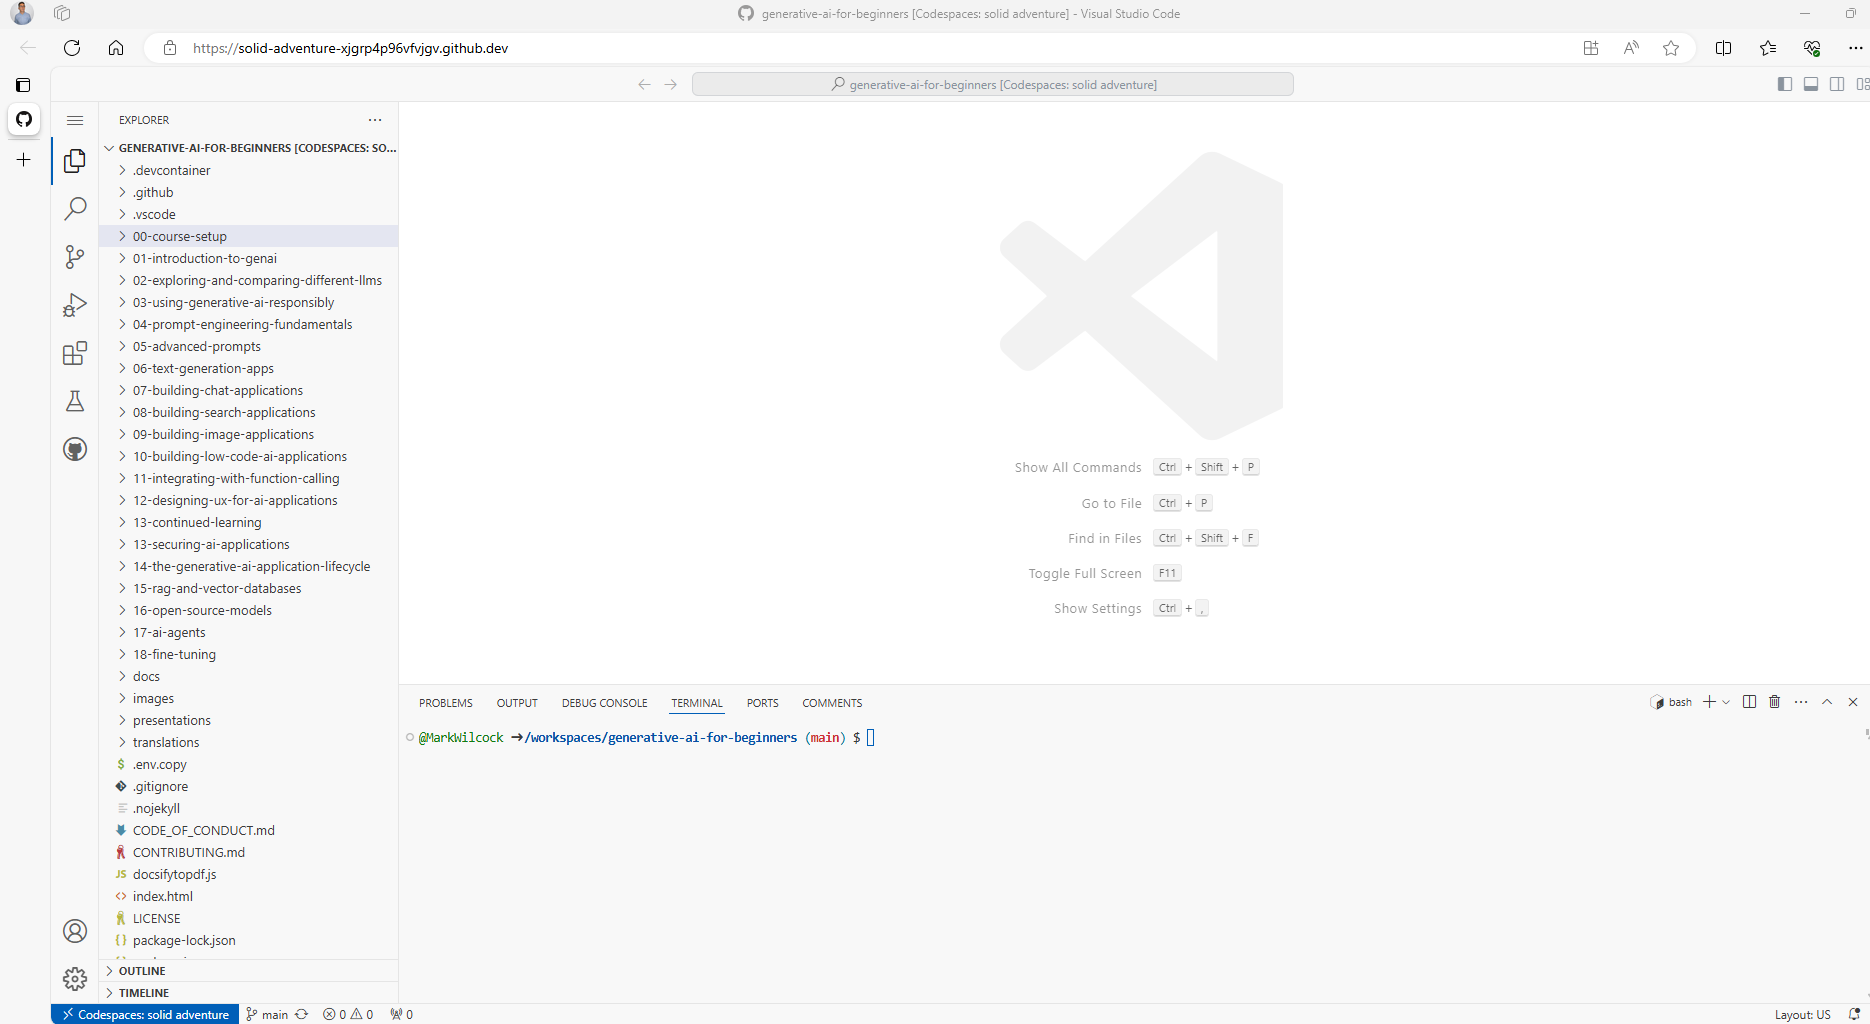
- This should bring up a browser page with a VSCode development environment that looks like this. If you get here Congratulations!
Local Install with VSCode
If you would like to install Python locally on your PC or Mac, I would recommend using VSCode, a very popular code editor. Here are the steps in brief.
- Download and install Python from the official Pthon landing page.
- Download and install VSCode from the VSCode download page.
- Launch VSCode and install the Python and then the Jupyter extensions
- Clone this Python Course https://github.com/MarkWilcock/Python-Course (I suggest that you do not select a folder on a OneDrive since the virtual environment you will create later has thousands of small files which OneDrive will need to sync.)
- Create a virtual environment (from the command palette with Ctrl-Shift-P)
- Install the following packages, used in the course, into the virtual environment: requests, pandas, seaborn, requests, matplotlib
- Test that everything is working. Open one of the Python notebooks from the course folder, select the virtual environment, then execute some of the code cells.