Data and AI Training
Home | Prices | Contact Us | Courses: Power BI - Excel - Python - SQL - Generative AI - Visualising Data - Analysing Data
Joining Instructions for SQL Courses
Here is what you need to know and do before the course. To participate in the course, you need a SQL editor and access to the course database. You need to set this up using GitHub Codespaces - detailed instructions below. GitHub Codespaces provides a web version of VSCode, a popular editor. Within that VSCode session, we install the SQL Server mssql extension to connect to the database.
Here are steps by step instructions. Note that the user interface may be slightly different to these images below.
In a browser, go to the GitHub website. Sign in if you already have an account, or create a free GitHub account if not.
Click on the “Create new repo” or similar button to see the form below.
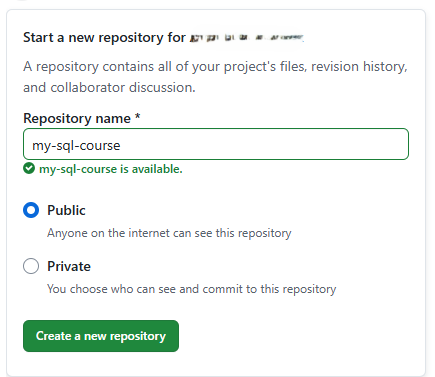
Enter a repo name, such as my-sql-course, and ensure this is a public repo. Click on the “Create a new repository button”.
Click on the “creating a new file” link.

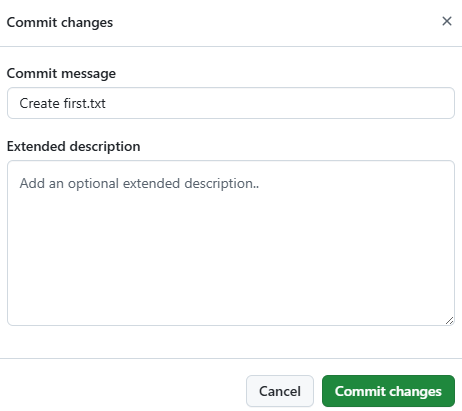
Choose a name for the file, such as “first.txt” and enter a line of text then click on the gree “Commit Changes” button.
Click on the “Commit Changes” button.
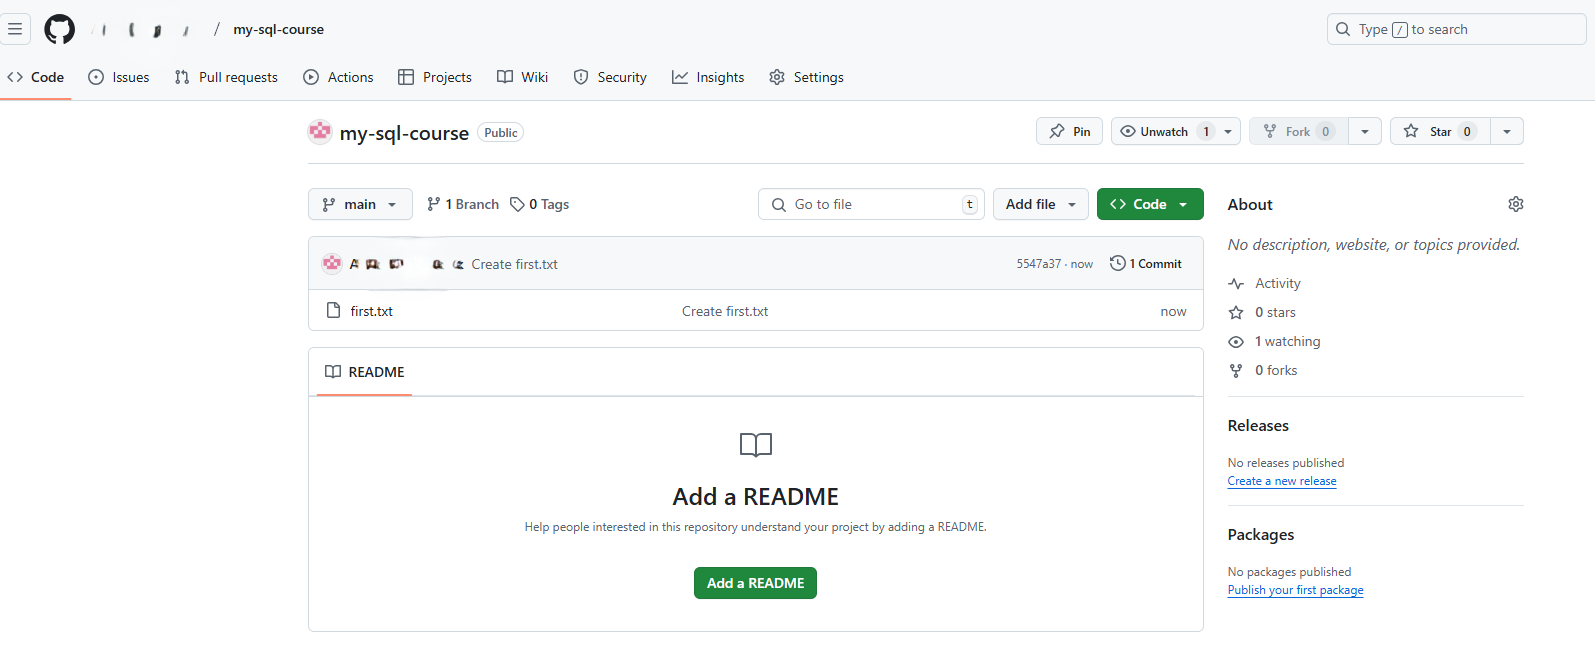
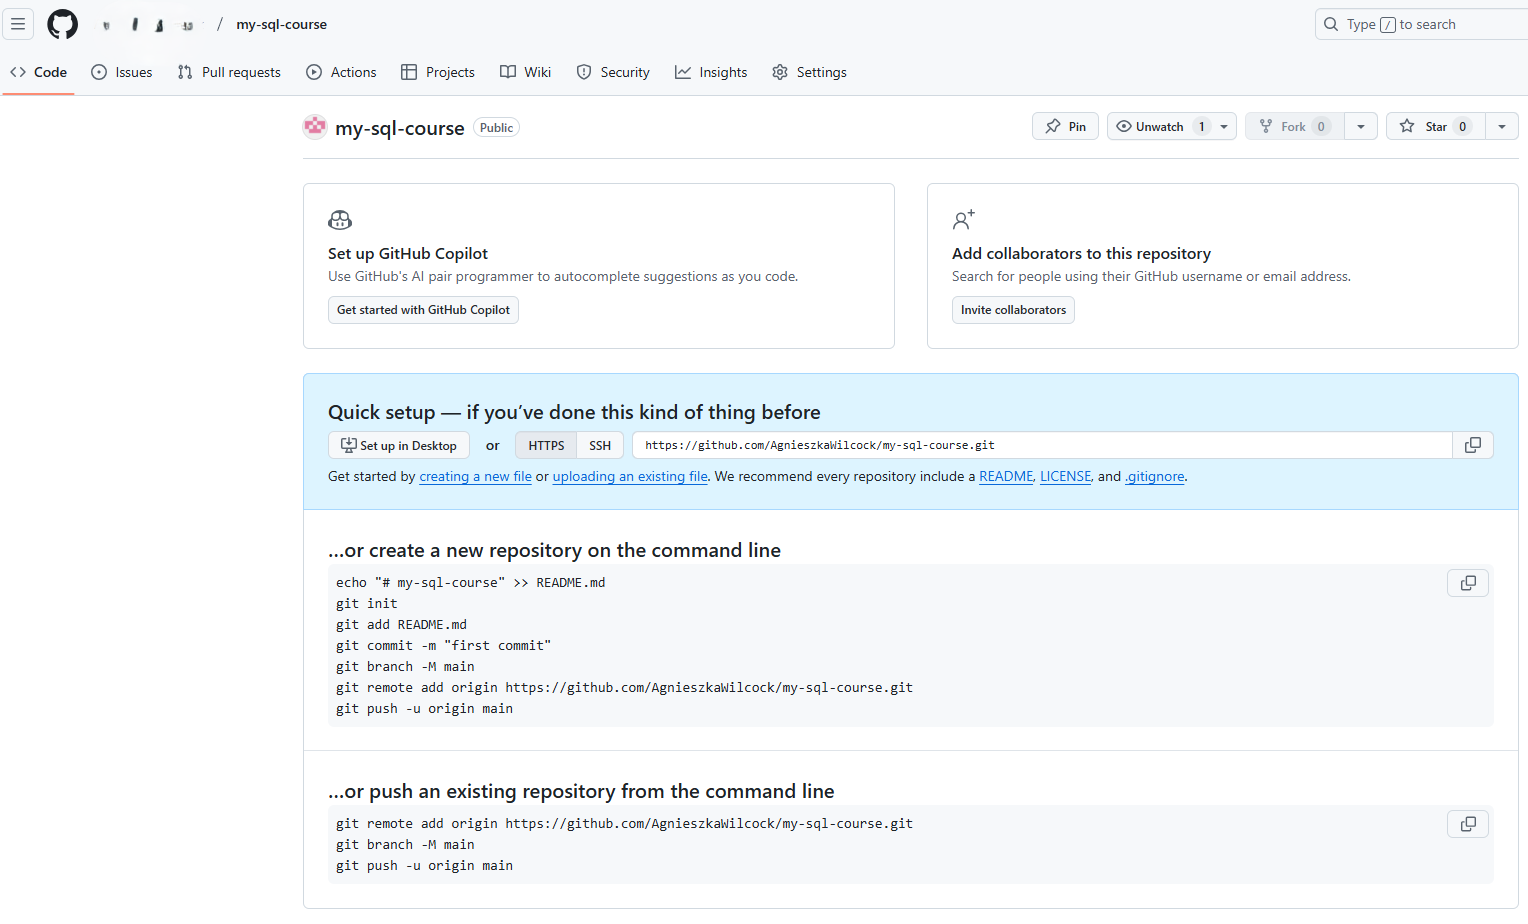
Congratulations - you have created a new repo and added your first file. Click on the green “Code” button.
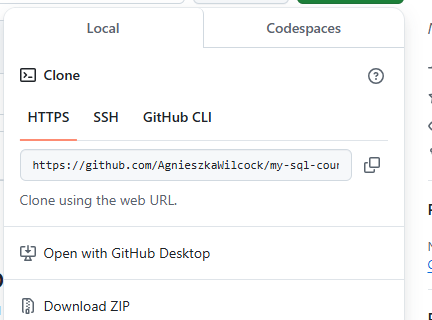
Click on the “Codespaces” tab.
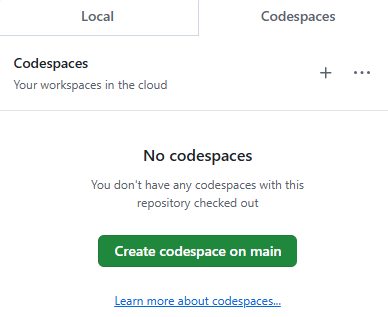
Click on the green “Create codespace on main” button.
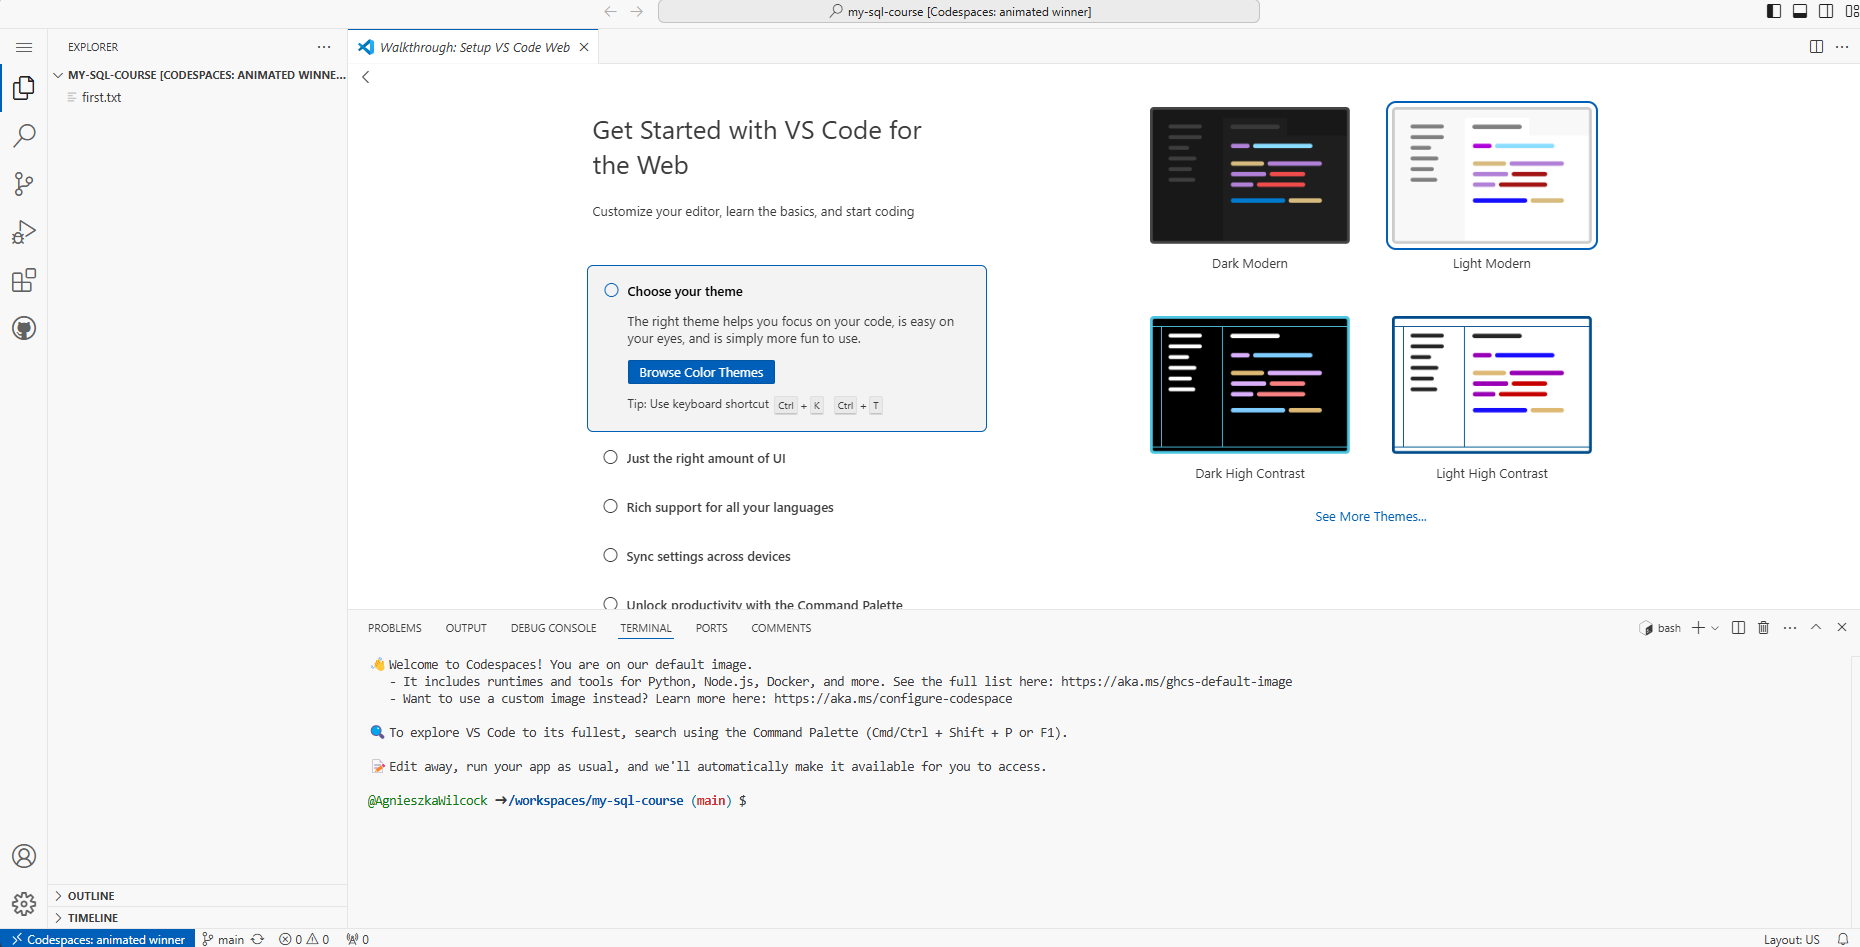
You are now in a web editor running a popular editor, VSCode. Choose a theme and click on the “<” chevron in the top left to go to the Welcome screen
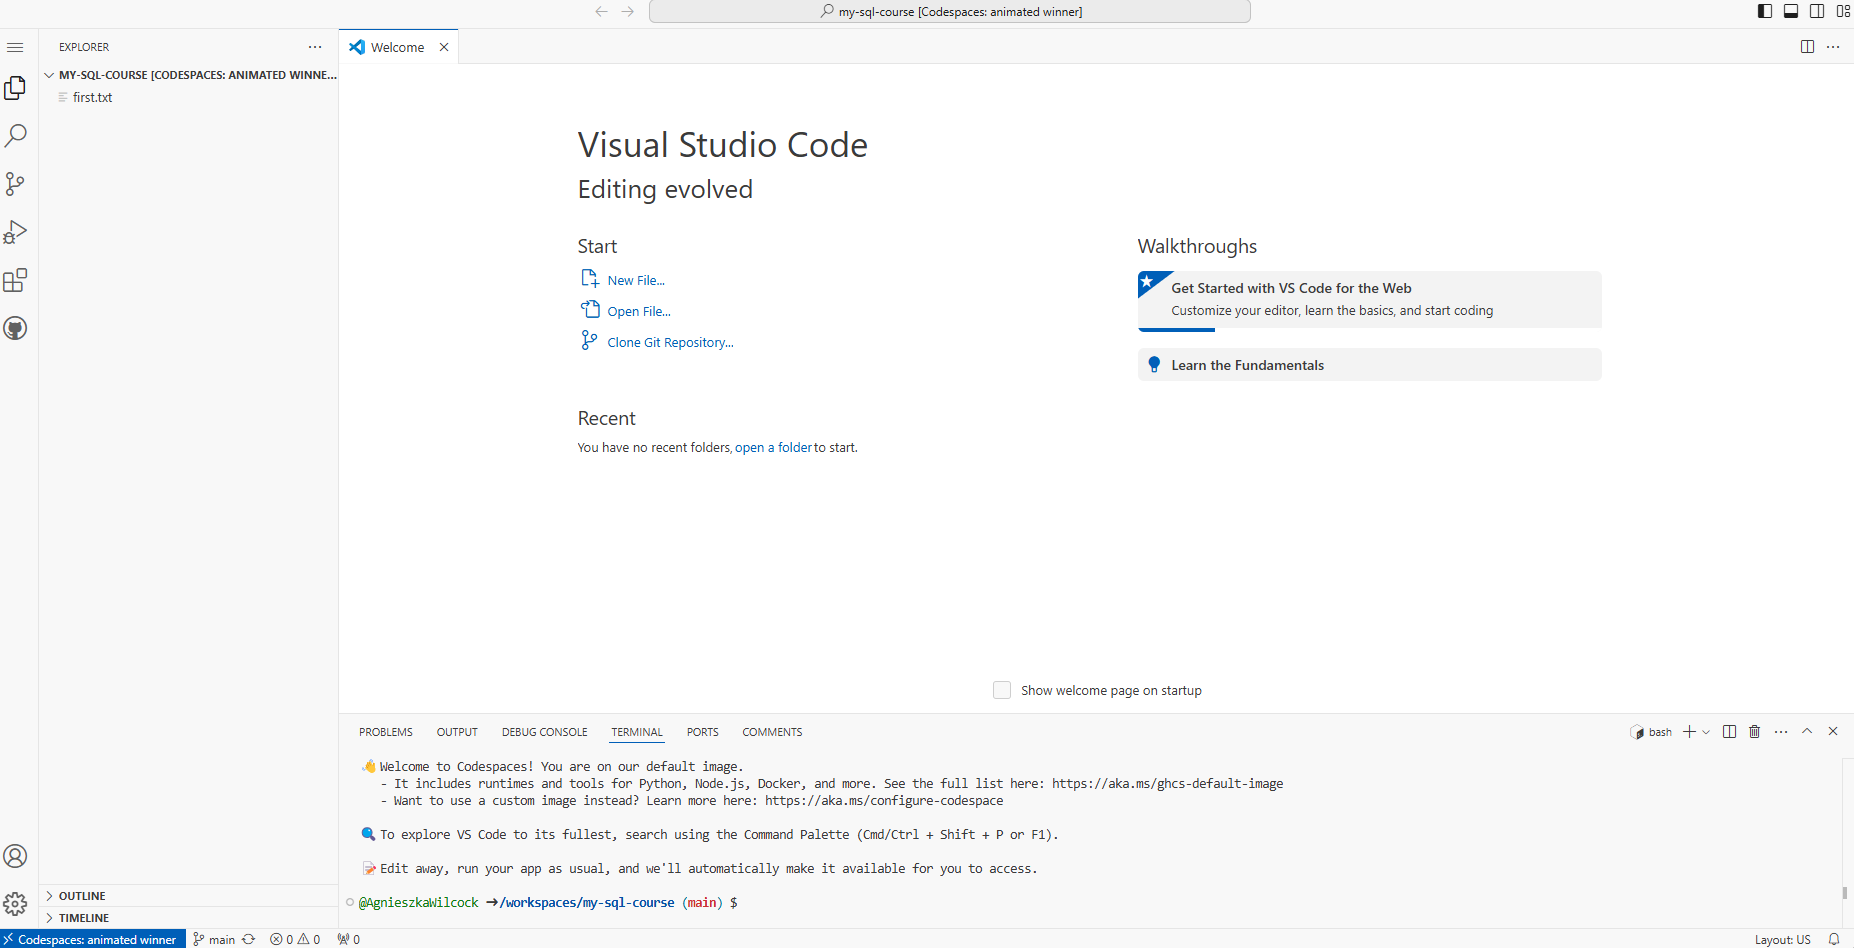
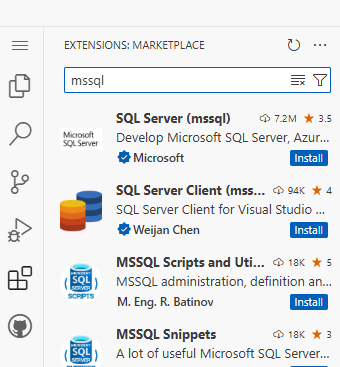
In the Welcome screen, click on the Extensions icon in the Activity bar (the vertical set of icon on the left). Search for mssql, then install the SQL Server (mssql) extension.
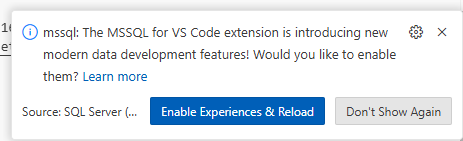
Create a new file, and name it with a .sql file type, e.g. test1.sql. A notification at the bottom right of the screen will ask if you want to enable modern development features. Click on the blue “Enable Experiences & Reload” button.
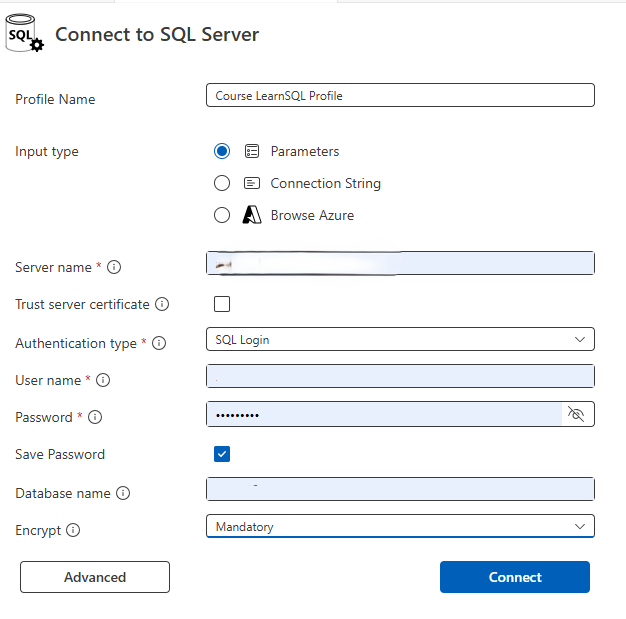
There will now be a new SQL Server icon in the Activity list. Click on this, then click on “Add Connection”. This will bring up a “Connect to SQL Server” form. Enter the connection details provided by the trainer.
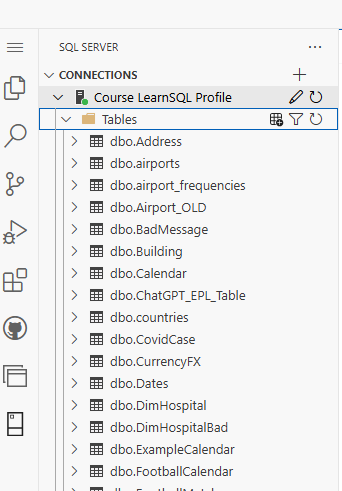
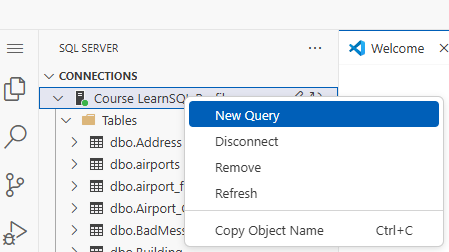
You can expand the explorer bar below the connection to view the tables.
Create a new query from the newly created connection - this will open a tab where you can enter a SQL statement.
Enter a simple, SQL statement, press the Play button to execute it, and view the results in the pane below.

Congratulations, you have finished the set up process!